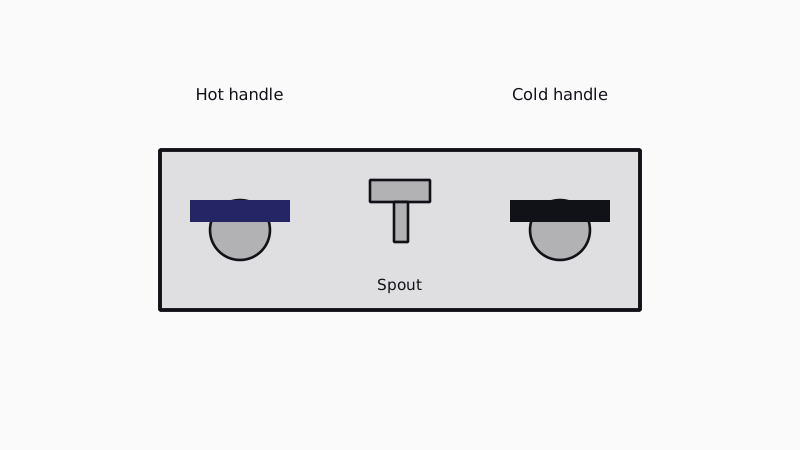
A two-handle shower has separate hot and cold valves, and a drip means one of them no longer seals. Turn the water off first, then take off the handle on the leaking side, remove the stem or cartridge and replace its washer, seat or whole cartridge. It is a one-afternoon job for many homeowners. It falls under our wider faucet and garbage disposal repair coverage.
Which side of the faucet is leaking?
Feel the drip. A leaking spout or head that runs warm or hot points to the hot valve, and a cool drip points to the cold one. If you cannot tell, shut one side's stop valve, where there is one, and see whether the drip stops. A drip that stops only when you crank a handle tighter signals a worn seal, not a loose handle.
According to the EPA, a showerhead that drips 10 times a minute loses over 500 gallons a year, which makes repair worthwhile. Mixed temperature drips are harder, since one valve may feed the other through a failed fitting. If both sides seem to leak, replace both valves' parts together, as they wear at the same pace.
What do I need on hand before starting?
Gather screwdrivers, an adjustable wrench and a thin flat blade for prying the handle cap. Add washers and seats, or cartridges, that fit your model, plus a rag and plumber's grease. Pack the rag in the drain opening so screws cannot drop into it. Take photos at each stage. When buying, carry the old part into the shop and match it exactly.
First work out which valve type you have, since the repair differs:
- Compression stems: a threaded stem carries a rubber washer at its end, which presses on a brass seat. The washer wears out and the seat pits.
- Cartridge valves: a plastic or brass cylinder slides inside the body, and the repair is replacing the whole cartridge.
Pulling the handle shows which you have. Brands vary, and some cartridges need a puller tool, which is sold with the replacement.
What are the steps for replacing the washer or cartridge?
Close the supply at the main or a shower stop, then open the shower to empty the line. Lever off the handle cap, remove the screw and lift away the handle. Use a wrench to unscrew the stem or cartridge. On a compression stem, replace the washer, check the seat and reassemble. On a cartridge, push in the new one the same way the old one came out.
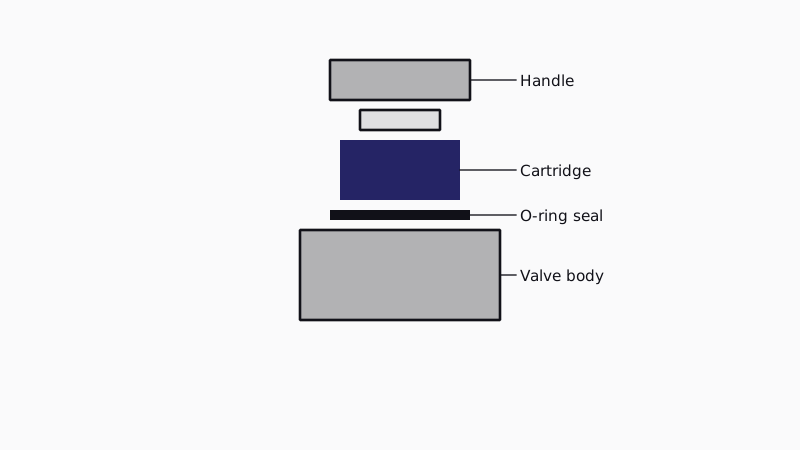
- Water off, test. Open the shower to confirm no flow.
- Plug the drain. Rag or stopper, so small parts do not vanish.
- Remove the handle and trim plate. Take a photo of the order of parts.
- Loosen the bonnet nut, then lift out the stem. If it sticks, soak the threads and work gently.
- Replace the washer and its screw, or fit the new cartridge, aligned as the old one was.
- Inspect the seat. A rough seat can be unscrewed with a seat wrench and replaced, or smoothed with a seat dresser.
- Grease the new parts lightly, put everything back together and restore the water slowly.
- Run the shower on hot and cold and watch for drips.
Why is my faucet stuck, corroded or full of mineral crust?
The cause is hard water. Rancho Water's own reports put average hardness around 230 to 240 mg/L in the 2020 to 2023 reports, roughly 13 to 14 grains per gallon, so Temecula valves often have mineral crust on stems and bonnets that makes parts stick. Soak crusty parts in white vinegar, and never force a stem that will not move, since the brass can twist.
If a bonnet nut is frozen, a few drops of penetrating oil and patient turning may free it. If it still resists, or the handle spline strips, stop. Forcing a seized valve can crack the wall pipe behind it, and a repair inside a tiled wall costs far more than a plumber visit. To slow the buildup, read preventing scale from hard water.
At what point should I stop and hire a plumber?
Pick up the phone if water will not stop at the valve, the stem cannot be reached or removed, the body is cracked or green with corrosion, a drip returns after new parts, or water appears in the wall or ceiling. These signs suggest a valve body or pipe problem. Submit the quote page and we hand your request to a local plumbing business.
In older homes the entire valve body may be worn out, so replacing it becomes the choice, and that needs access from behind the wall. Often the plumber can reach it through a panel on the other side, in a closet or hallway. A contractor license is generally required in California once labor and materials total $1,000 or more, which marks the line for bigger work. Small repairs like this one often fall below it.
For related repairs, see fixing a leaky bathroom faucet with two handles, the leaky bathtub faucet guide and a plumber for shower leaks. Our home page shows the remaining work we arrange.
Common questions
How long will the repair take?
Changing the washer on one side typically takes less than an hour with the right parts in hand. Cartridge replacements go quicker if the old one comes out easily, and slower if it is corroded in place. Leave room for a store run, since the first part many people buy turns out wrong.
What do I look for when choosing a plumber for this?
Ask whether the price covers both valves or one, whether the visit includes replacing parts and whether the plumber will look at the valve body for wear. Get a price in writing first. Older valves sometimes need more than a washer, so ask what happens if the body is damaged.
Must someone be home while the repair happens?
Have an adult home who can point out the shower and agree the price. Clear access is needed to the tub, any wall panel and the water shutoff. The supply is off briefly during the work, so plan your showers around it.
What if the shower keeps dripping after a new washer?
The seat is probably worn or pitted, so a new washer has nothing flat to seal against. Resurfacing or replacing the seat usually fixes it. Another cause is a stem tightened too far, which crushes the new washer. Should it still drip after both fixes, have the plumber examine the valve body.
Updated